
Gaming today doesn’t always mean spending thousands on a high-end console. Devices like the HSSGameStick have made retro gaming simple, fun, and surprisingly affordable. If you’ve simply offered one, possibilities are you’re eager to dive in but a piece uncertain about which to start. Don’t worry—you’re now not alone. Setting it up is less difficult than it looks, and when you grasp a few tweaks, the complete experience feels smoother, sharper, and extra non-public.
In this guide, I’ll walk you through the step-by-step manual settings HSSGameStick process, crafted specifically for beginners. You’ll learn no longer best the way to plug it in and start, however also how to excellent-music the visuals, sound, and controllers for a setup that suits you flawlessly. Think of this as a friendly walk-thru in preference to a dry technical manual.
Why Spend Time on Setup?
A lot of new users just plug in their HSSGameStick and start playing right away. That works fine. But here’s the secret: the real magic happens once you take a little time to explore the instructions manual hssgamestick and customize the device.
- Games load faster when you set the right options.
- Visuals become sharper with correct resolution.
- Controller response improves with remapping and sensitivity tweaks.
- Audio sounds cleaner when you adjust the balance.
In brief, ten minutes of setup can save you hours of frustration later. And in case you’re nostalgic about unfashionable gaming, the proper modifications make the whole lot sense precisely as you consider—or maybe better.
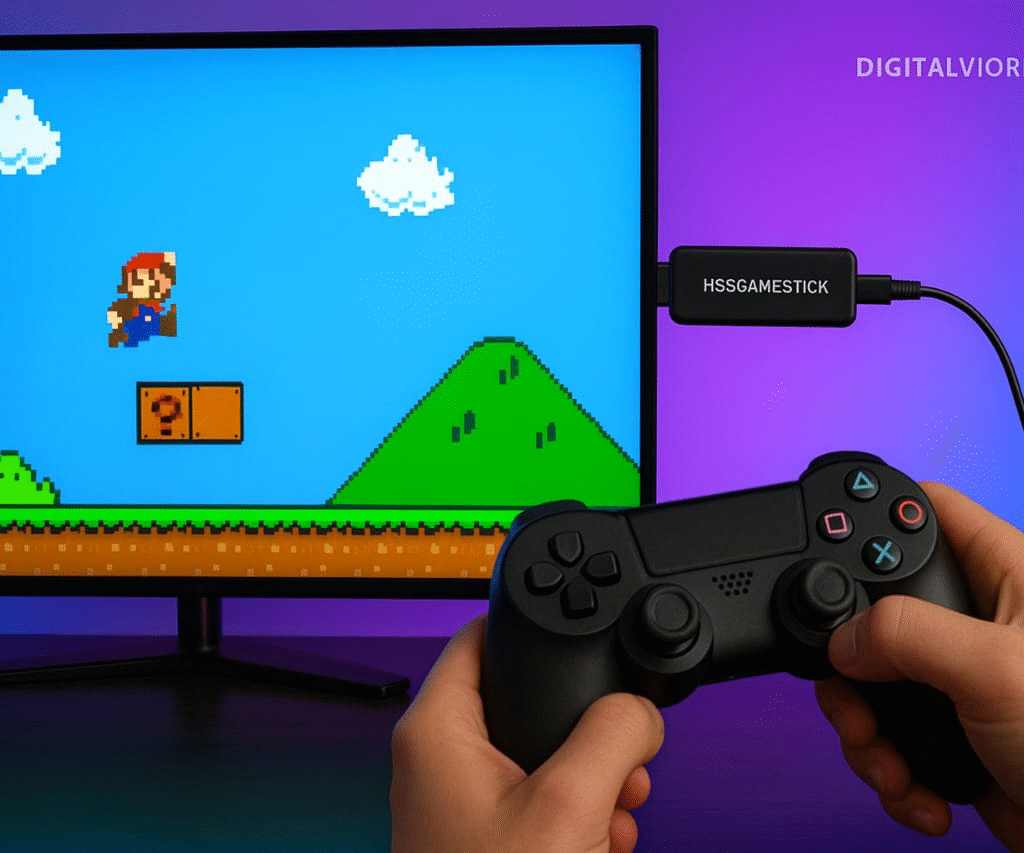
Step 1: Unbox and Connect Your GameStick
Open the box and you’ll find:
- The HSSGameStick device itself.
- One or two wireless controllers (depending on the version).
- An HDMI extension cable.
- A USB power cable and adapter.
Here’s what to do:
- Plug the GameStick directly into your TV’s HDMI port. If your port is hard to reach, use the extension cable.
- Connect the USB cable to power it up. You can use the included adapter or a USB slot on your TV.
- Switch the TV input to the HDMI channel where the device is connected.
You should now see the startup screen. If not, double-check the power and HDMI connection. It’s that simple.
Step 2: Navigate the Main Menu
Once powered on, you’ll be greeted by a colorful interface showing categories like “Games,” “Settings,” and “Favorites.” Use your controller to navigate.
This is the control center where you’ll access the manual settings HSSGameStick options. Beginners often miss this because they’re too excited to jump straight into a game. Take a moment here. Explore. You’ll thank yourself later.
Step 3: Set Up Display and Resolution
Nothing kills the rapid fun than the spreading graphics or blurred screen. Retro games are not designed for modern 4K TVs, so you will need to adjust the visual.
Go to:
- Settings → Display → Resolution.
You’ll see options like 720p, 1080p, and sometimes 4K (depending on your model).
Pro tip:
- If your TV is full HD, pick 1080p.
- For smaller screens, 720p actually looks sharper for retro games.
- 4K is tempting, but most old-school titles don’t benefit from it.
Next, check Aspect Ratio. Retro games originally used 4:3. Modern TV 16: 9. If you hate black bars, choose 16: 9, but for an authentic experience, live with 4: 3.
Shine and contrast settings are also worth a quick test. Each TV is different, so make it to be held until the colors are washed without washing.
Step 4: Configure Audio Settings
Games feel empty without the right sound. To set this up, go to:
- Settings → Audio.
You’ll find options for output (HDMI or Bluetooth, depending on your version). If you’ve got Bluetooth speakers or headphones, pair them here.
You may also see a mixer or equalizer. Don’t overthink it—just adjust until voices and effects sound balanced. For example, fighting games benefit from punchier bass, while platformers need clear mids so sound effects aren’t lost.
A little tuning here makes those classic soundtracks come alive again.
Step 5: Pair and Customize Controllers
Controllers make or break the gaming experience. The HSSGameStick usually comes with wireless gamepads, but you can also connect your own via USB or Bluetooth.
Here’s what to do:
- Go to Settings → Input.
- Choose Controller Setup.
- Press buttons as prompted to map them correctly.
This step matters more than you think. Different emulated systems have different button layouts. If you grew up on Nintendo, you might want “A” and “B” reversed compared to PlayStation. Mapping them once saves endless confusion later.
Also check sensitivity for joysticks. If you notice lag or sluggish response, raise the sensitivity slightly. Fighting and racing games feel much smoother this way.
And yes, turbo mode exists. If you’re playing old arcade shooters, enabling turbo can save your thumbs from mashing too hard.
Step 6: Explore Advanced Manual Options
This part is optional but highly rewarding. Under advanced settings, you’ll see emulator-specific options. This is where the instructions manual hssgamestick becomes really handy, as it often explains what each feature does.
Here’s what you might find:
- Shaders and Filters: Add CRT effects for that nostalgic curved-screen look.
- Save States: Save your progress anytime, even in games that never allowed it.
- Cheat Codes: If you’re stuck in a level, enable cheats directly.
- Frame Skipping: Helps if a game runs too slow.
Play around, but don’t get overwhelmed. Start simple. Maybe try one shader effect or save state option first, then branch out.
Step 7: Connect to Wi-Fi (If Supported)
Some versions of the GameStick allow Wi-Fi connectivity. This lets you update firmware, add new games, or transfer save files.
To do this:
- Open Settings → Network.
- Select your Wi-Fi and enter the password.
- Once connected, check for firmware updates.
Keeping the firmware current ensures fewer bugs and smoother performance. Again, the instructions manual hssgamestick often has a section that explains the update process step by step.
Step 8: Organize and Personalize
By now, your device is fully functional. But one last touch makes life easier: organizing your library.
- Add your favorite games to a quick-access list.
- Rename categories if your system allows.
- Customize the home screen theme for a fresh look.
These little details make the interface feel less generic and more your own.
Troubleshooting Basics
Even the simplest devices can act up. Here are common problems and fixes:
- Black screen after startup: Double-check resolution settings. Some TVs don’t handle certain modes well.
- Controller not responding: Re-pair it under input settings. Replace batteries if wireless.
- Games running slow: Lower resolution or enable frame skipping.
- Audio delay: Switch from Bluetooth to HDMI output for instant sync.
In most cases, following the instructions manual hssgamestick gives you a direct fix. It’s worth keeping nearby until you’re comfortable with every setting.
Pro Tips for Beginners
Here are a few extra nuggets that don’t always make it into official guides:
- Use a wired connection if possible. Wireless controllers are fine, but USB ones reduce lag noticeably in fast-paced games.
- Back up your saves. If your model allows external storage, copy your saves occasionally to avoid losing progress.
- Experiment with filters. Even a light scanline filter can make retro graphics look authentic without being too heavy.
- Check online communities. Users share their favorite tweaks, hidden features, and troubleshooting hacks.
These aren’t mandatory, but they add polish to your experience.
The Real Value of Manual Setup
At first, spending time on the manual settings HSSGameStick might feel unnecessary.But once you see the difference, you will never want to go back to “default mode”.
It likes driving a car. Sure, you can leave everything on the auto, but adjusting the seat, mirror and radio makes the ride individual. He goes here. You are shaping your device to match your style, memories of your TV and classic gaming.
And remember, the instruction manual hssgamestick is not just paper that you toss on one side – this is a toolkit. Mix it with a little experiment, and your gamestick turns from a simple gadget to an individual retro arcade.
Also Read: GetWhoCares.com Tech Simplifies Digital Life With Ease
Final Thoughts
The HSSGameStick proves that you don’t need expensive gear to relive the golden era of gaming. With a little patience and curiosity, anyone can set it up for the best possible experience.
Here’s the takeaway:
- Plug it in, strengthen it up.
- Adjust the display, audio, and controller for consolation.
- Explore superior capabilities at your very own pace.
- Keep the instructions manual hssgamestick close for reference.
Once you do this, you will enjoy the way you play games – clear visuals, simple restrictions, and sounds that will withdraw you in the Arcade days.So, take a few minutes today. Go through the manual settings HSSGameStick carefully, experiment a little, and watch your device transform into a pocket-sized time machine.